In Part 1, I determined what components were needed to turn the motor I found.
In Part2, I determined what parts were needed to attach the motor to the skateboard wheel.
The next step is attaching the motor to the skateboard and the installation of the pulleys and belts to the wheel. First, I decided to attach the large pulley to the wheel. Both pulleys I ordered are made from aluminum. This makes everything corrosion resistant and relatively easy to work with since you can use common woodworking tools to form it.
The large pulley needed the center mounting hole enlarged to clear the axle. This was easy with a drill press and 3/4 inch bit. I also decided to trim off the mounting flange with a bandsaw. I, then, drilled and tapped two holes in the pulley to accept some stainless 6-32 thread 2 inch long button head screws. Finally, I drilled two holes in the wheels for the screws and threaded them through the wheels into the pulley. The important part is making sure the pulley is completely centered before marking and drilling any holes.


With that pulley installed and the other temporarily attached to the motor shaft, I installed the wheel to determine the length of timing belt I want to use. I mocked up a mount using cardboard and, with some string, decided that a 12 inch circumference belt allowed the motor to just clear the truck mounting hardware.
When you lean to turn the skateboard, the distance from the wheels to any point on the board deck changes both vertically and horizontally. This means the best way to mount the motor is to the trucks themselves and not to the deck.
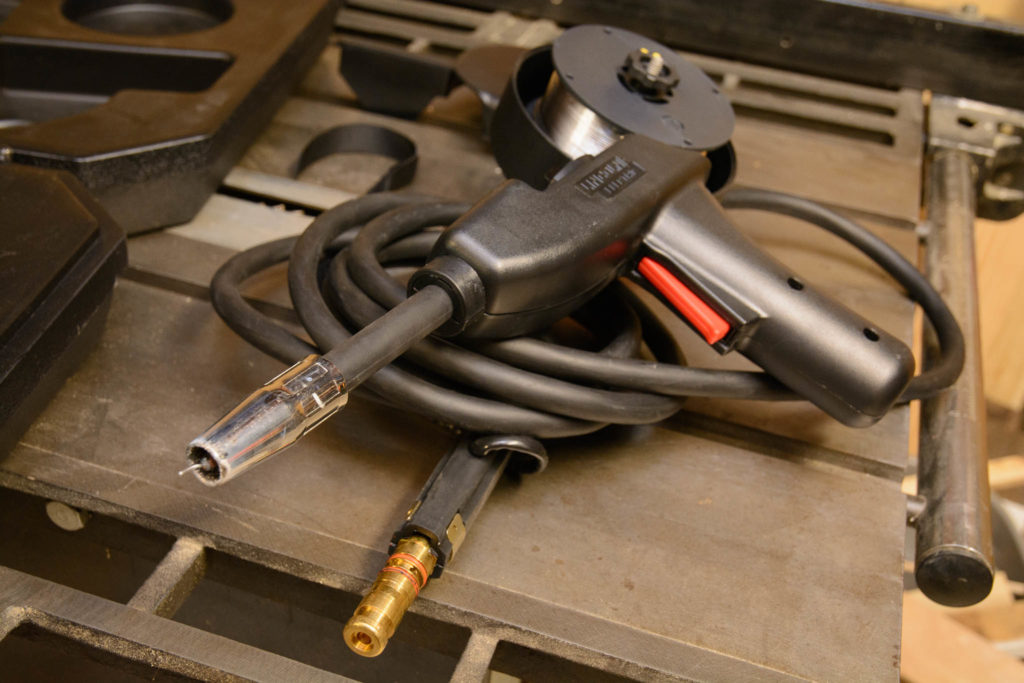
The trucks on this skateboard are made out of aluminum, so I decided to use a 1/8 inch thick piece of 5052 aluminum for the motor mount (it is what was available in my local metal supplier’s scrap bin). I will use a spool gun and my multiprocess welder in GMAW (MIG) to attach the mount to the trucks.

The wire that is used when welding aluminum is soft and difficult to feed through a normal MIG gun liner, so a spool gun is commonly used to reduce the length the wire has to travel before reaching the metal. It is also important to use 100% Argon or an Argon Helium mix as the shielding gas. Here is some good advice for preparing the metal and setting up the machine.
I cut the rough shape of the mount out using a bandsaw and shaped it more precisely with some files. The motor has four 6-32 holes on the shaft side face that will work perfect to attach it to the mount. After a bit of tacking and squaring, I tested the mount with the motor, pulleys, and belt to make sure everything tracked, was aligned, and that there was ample clearance between the ground and the motor. I was happy after a bit of adjustment and welded the rest of the mount.

Then, I re-attached the motor to double-check everything was still aligned properly. It looks like it will work!

Now that the motor is mounted, we will see what it takes to spin it in Part 4.